
Project Plan 5 hours
DIY Upright Adirondack Chair Plan
How to build an upright Adirondack chair that’s easy to get into and out of
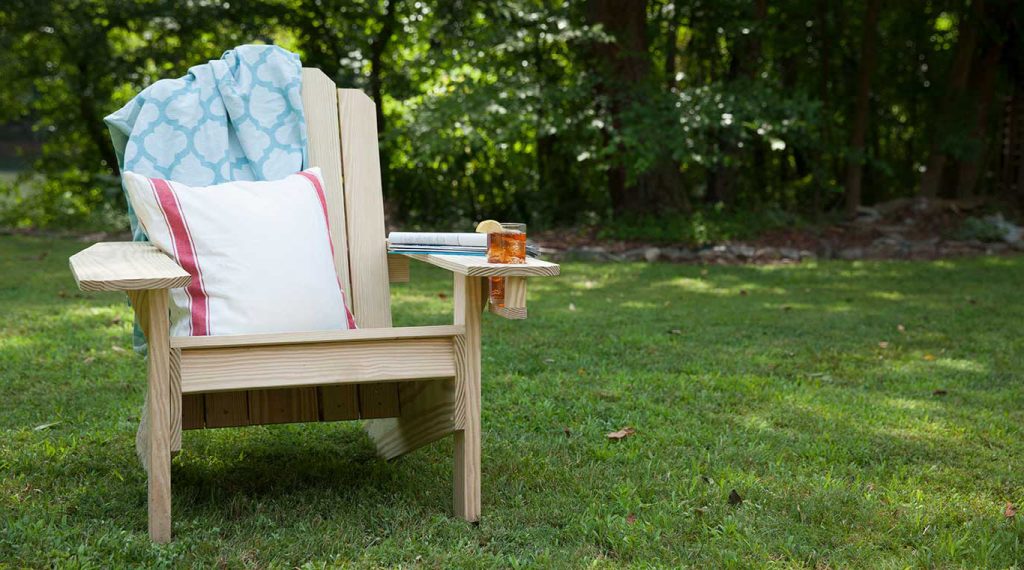
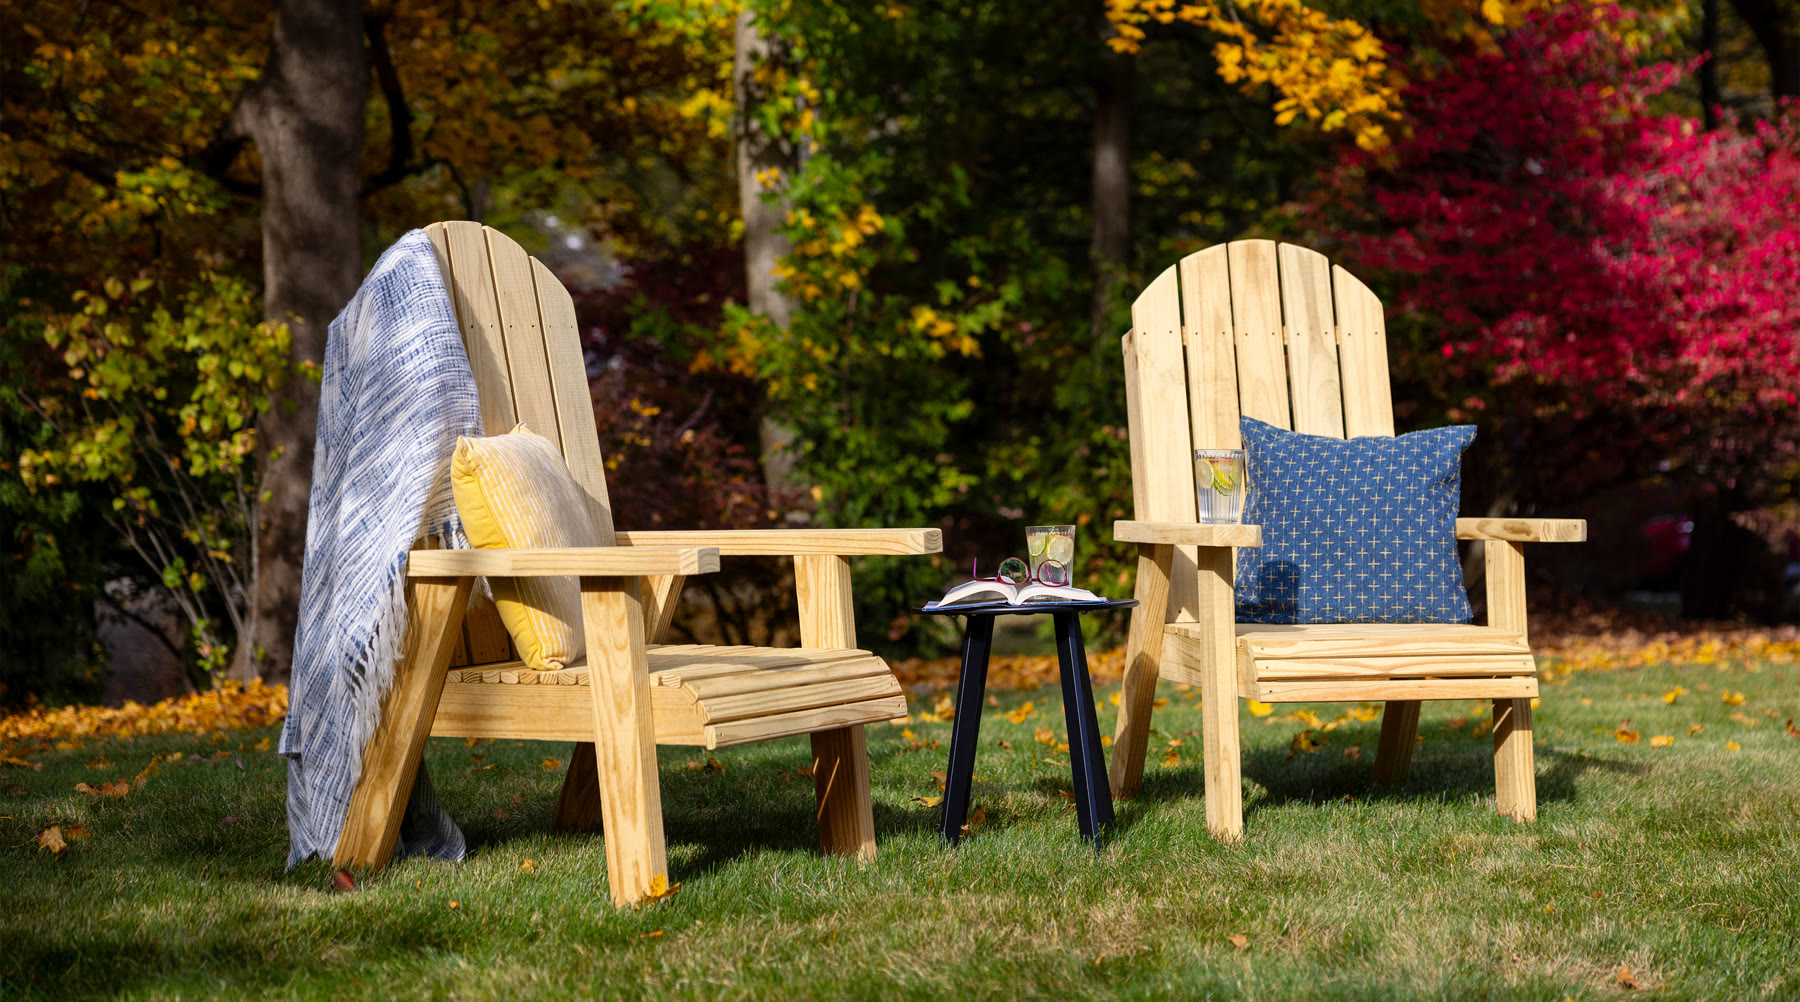
The DIY upright Adirondack chair plan offers the timeless look of a classic Adirondack design with a more upright seating position that makes getting in and out easier. It’s a great choice for patios, porches and backyard gathering spaces where comfort and accessibility matter.
Designed to be approachable for everyone, this plan shows you how to build an Adirondack chair over a weekend and enjoy it for years to come. The result is a sturdy, attractive chair that brings together the relaxed feel of Adirondack furniture with a seating position that’s better suited for everyday use, conversation and long afternoons outdoors.
Before you get started, please read our info on safety, fasteners and building tips, and please consult our Terms of Use.
What you’ll need to build an upright Adirondack chair
Materials
- (5) 1 x 2 x 8′ YellaWood® brand pressure treated pine boards
- (3) 1 x 4 x 8′ YellaWood® brand pressure treated pine lumber
- (4) 2 x 4 x 8′ YellaWood® brand pressure treated pine
- 2 ½” YellaWood® brand fasteners + appropriate bit
- 1 5/8″ YellaWood® brand fasteners + appropriate bit
- 3″ YellaWood® brand fasteners + appropriate bit
- Waterproof wood glue (optional)
- YellaWood Protector® stain and sealer
Tools
- Pencil
- Measuring tape
- Miter saw (or chop saw)
- Jigsaw
- Drill / driver
- Drill bit
- Clamps
- Square
- Radial sander (or sanding block)
- Damp cloth (optional)
- Paint / stain brush
Step-by-step instructions for how to build an Upright Adirondack chair
Love the Adirondack style but need something a little easier on your knees? Build an upright Adirondack chair. Our DIY plan provides the classic look in a more accessible design.
Get the full project plan, free
Register to get full access to every project plan on yellawood.com
More projects to beautify your backyard:
-
-
Project Plan 3 hours
DIY Garden Bench Plan
-
Project Plan 18 hrs
DIY A-Frame Playhouse Plan