
Project Plan 4 hrs
DIY Adirondack Chair Plan
How to build an Adirondack chair with YellaWood® brand lumber
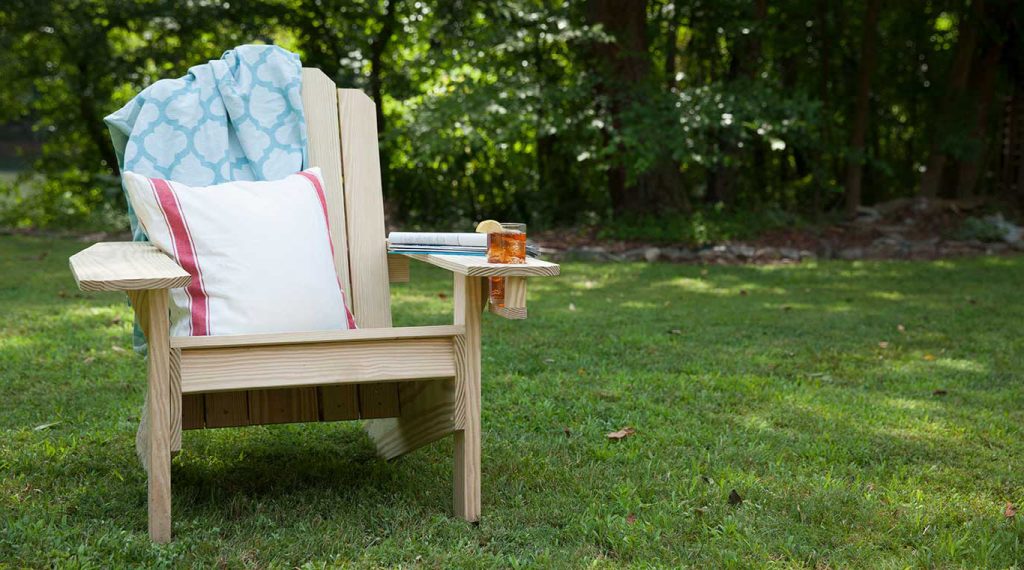
Enhance your backyard with the simple, durable outdoor seating of an Adirondack chair with our DIY plan.
This free Adirondack chair building plan walks you through how to build a timeless piece that looks great in your outdoor space. Using straightforward cuts with common tools and YellaWood® brand materials, you can finish this DIY Adirondack chair project in a weekend but enjoy it for years.
Before you get started, please read our info on safety, fasteners and building tips. Before building, please consult our Terms of Use.
What you’ll need to build your own Adirondack chair
Materials
- (4) 1x4x8′ YellaWood® brand pressure treated pine boards
- (2) 1x8x8′ YellaWood® brand pressure treated pine boards
- (1) 2x4x10′ YellaWood® brand pressure treated lumber
- 1 1/4″ deck screws
- 2″ deck screws
- 3″ deck screws
- Wood glue
- YellaWood Protector® stain and sealer
Cup holder materials
- (1) 1x2x8′ YellaWood® brand pressure treated pine
- 1 5/8″ wood screws + appropriate bit
Tools
- Miter saw (or hand or circular saw)
- Table saw
- Jigsaw (or hand or circular saw)
- Drill / driver
- 1/8″ drill bit
- Clamps
- Damp rag to wipe up excess glue
- Radial sander or sanding block
Step-by-step instructions on how to build an Adirondack chair
There are many variations of the classic Adirondack chair, but this DIY Adirondack chair plan focuses on simple cuts and an easy-to-build design.
Get the full project plan, free
Register to get full access to every project plan on yellawood.com
More projects to beautify your backyard:
-
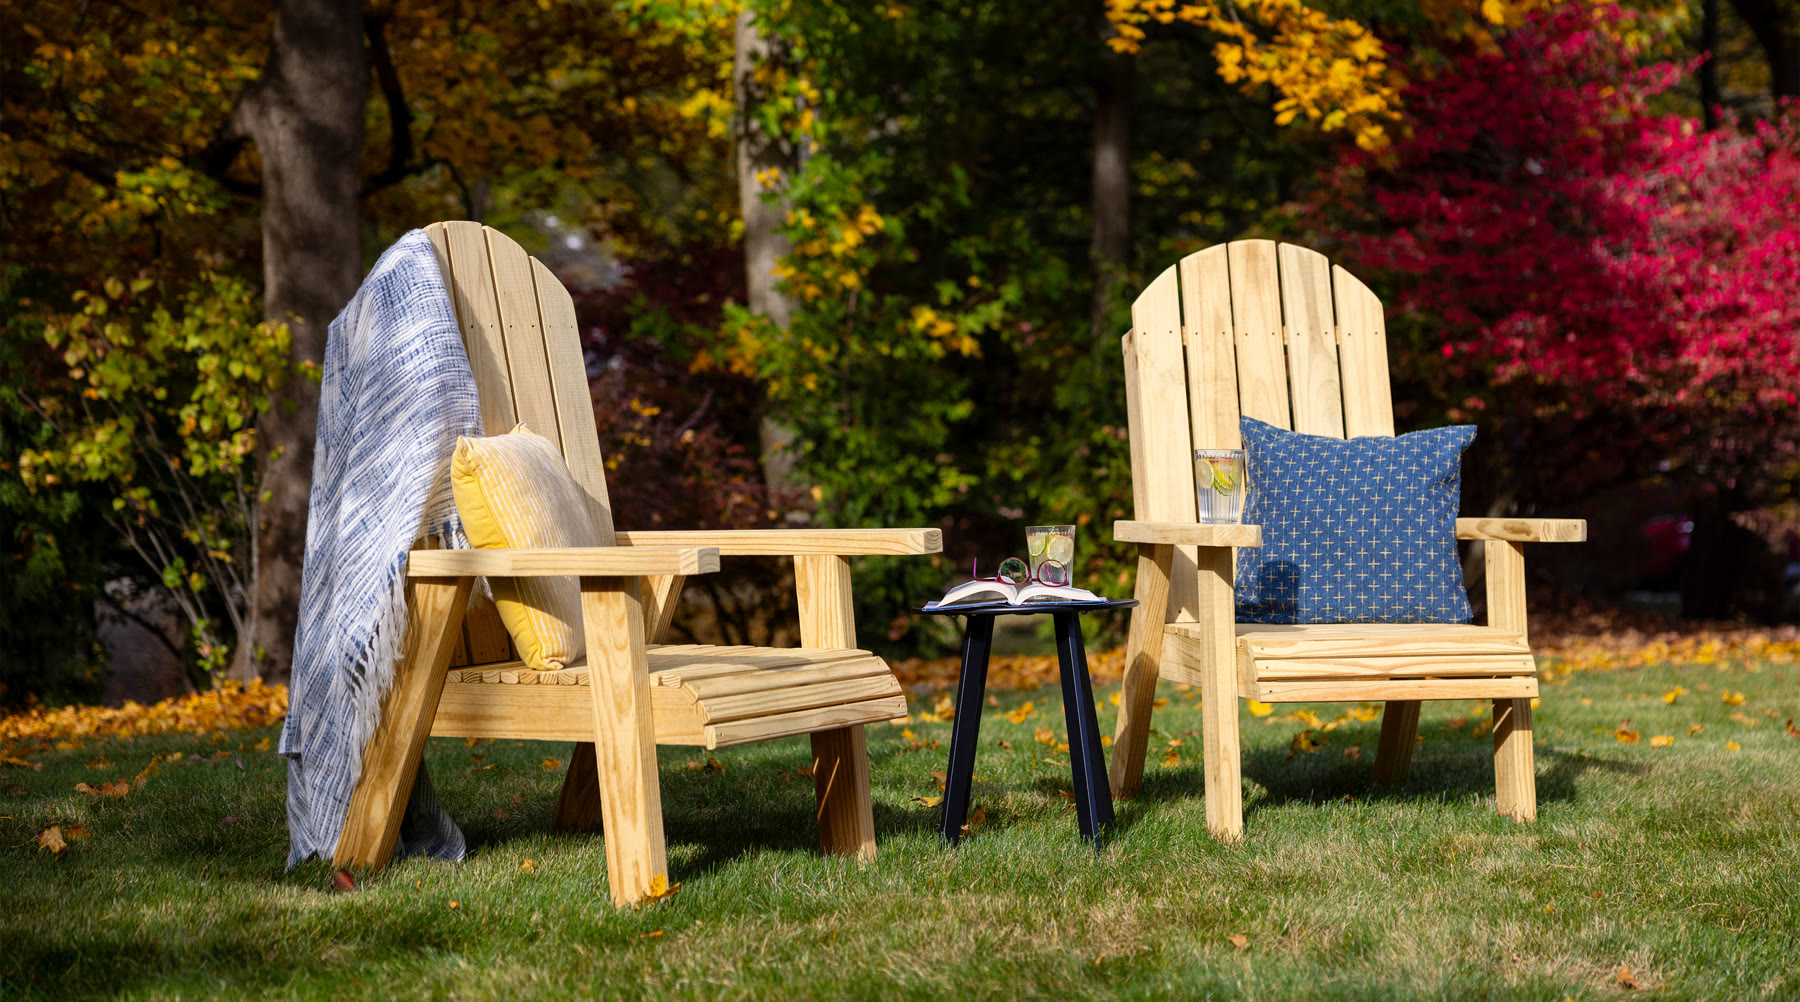
-
Project Plan
DIY Hammock Stand Plan
-
Project Plan
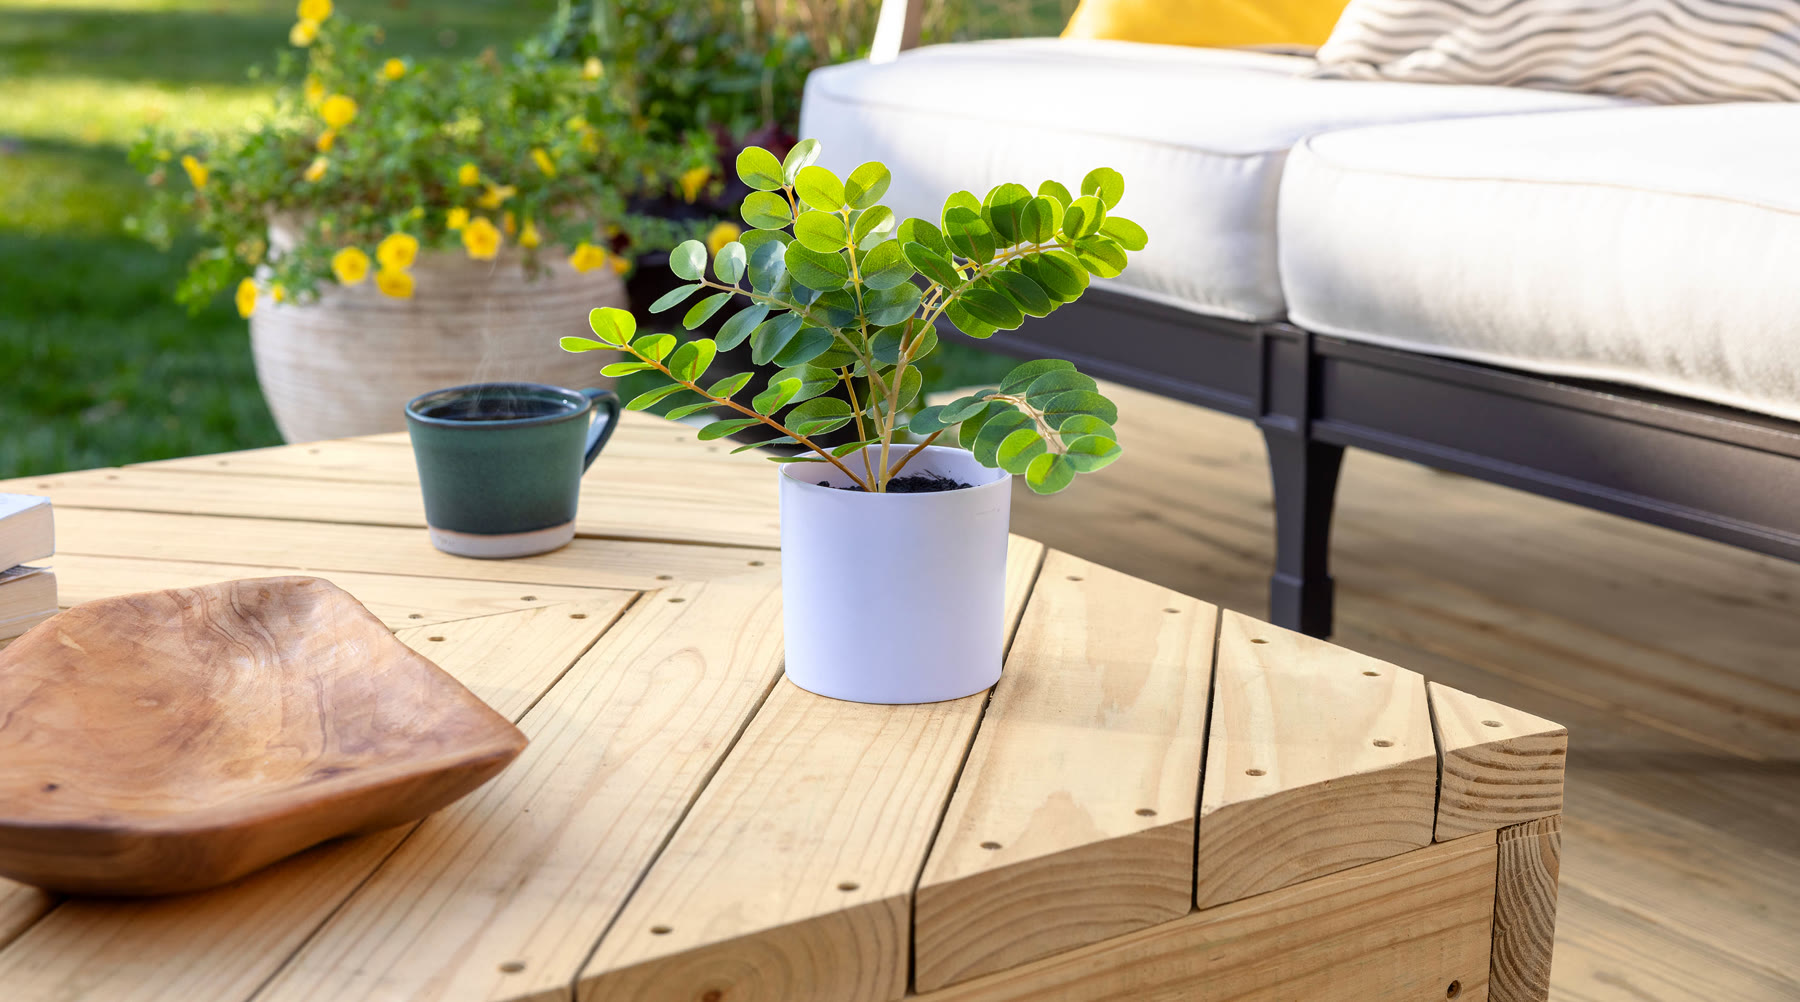
DIY Wood Patio Furniture Plan