
Project Plan 14 hours
DIY Lounge Chair Plan with Storage
Lay back and soak up the sun, or the shade
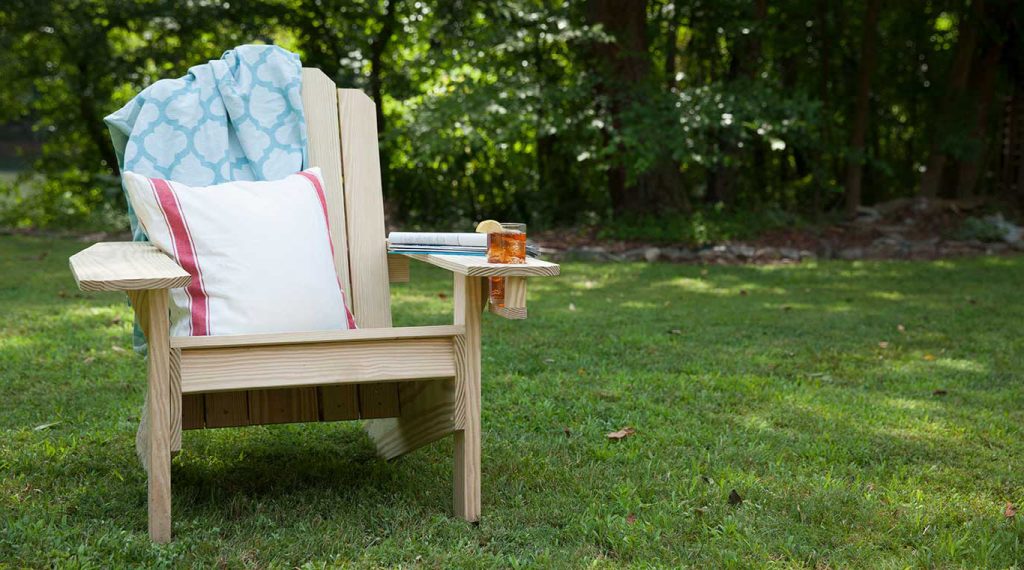
The DIY lounge chair plan is designed for all-day comfort, giving you a dedicated place to unwind after work or spend a slow weekend outdoors. With a deep seat sized for a 26″ cushion and an adjustable backrest with multiple reclining positions, it brings a relaxed, customizable feel to patios, decks and backyard spaces.
A built-in storage area and optional side tray detail support everyday use, keeping essentials close without cluttering your space. This patio lounge chair DIY plan moves through clear stages, from the frame and storage to the seat cladding and adjustable backrest, ending with an optional slide out side tray. The result is a sturdy wood lounge chair made for long-lasting outdoor use and everyday relaxation.
Note: Lounge cushion not included.
Before you get started, please read our info on safety, fasteners and building tips, and please consult our Terms of Use.
What you’ll need to build a wooden lounge chair
Materials
- (2) 2 x 4 x 10′ YellaWood® brand pressure treated pine lumber
- (3) 2 x 2 x 10′ YellaWood® brand pressure treated pine
- (16) 1 x 4 x 10′ YellaWood® brand pressure treated pine boards
- 1/2 lb. box of 1 1/4″ wood screws + appropriate bit
- 1/2 lb. box of 1 5/8″ wood screws + appropriate bit
- 1/2 lb. box of 2″ wood screws + appropriate bit
- 1/2 lb. box of 2 1/2″ wood screws + appropriate bit
- (1) 30″ x 1 1/2″ continuous hinge
- (2) 1/4″ x 4″ galvanized carriage bolts and nuts
- (4) 1/4″ galvanized washers
- Preferred wood finish
- Waterproof wood glue (optional)
- YellaWood Protector® stain and sealer
Side tray materials
- (3) 1 x 4 x 10′ YellaWood® brand pressure treated pine
- (1) 2 x 2 x 8′ YellaWood® brand pressure treated pine
- ½ lb. box of 1 ¼” wood screws + appropriate bit
- ½ lb. box of 3″ wood screws + appropriate bit
Tools
- Pencil
- Measuring tape
- Miter saw (or chop saw)
- Table saw
- Drill/driver
- Jig saw
- Carpenter square
- Combination countersink bit (with 3″ long 1/8″ bit)
- 1/4″ drill bit
- Clamps (two at least 5′ long)
- Adjustable wrench
- Radial sander (or sanding block)
- Damp cloth (optional)
Step-by-step instructions for a DIY lounge chair

That Sunday afternoon nap feels even more refreshing when you’ve put in the work and are proud of your craft. Whether you park it poolside, on the patio or in the shade, this outdoor lounge chair belongs in your backyard.
Get the full project plan, free
Register to get full access to every project plan on yellawood.com
More projects to beautify your backyard:
-
-
Project Plan 4 hours
DIY Child’s Adirondack Chair Plan
-

Project Plan 4 hours
DIY Adirondack Footstool Plan